I sometimes need to expose a local web application (Astro in my case) with a real domain name and a real SSL certificate, to use features like passkeys (WebAuthn) that require a secure context. I used to do something complicated by forwarding a port through my two routers or generating a self-signed certificate, but it was painful to set up — especially to get it working from a device like an iPhone. I’ve now found a much more elegant solution, which I’m sharing here.
Goals
- Access my subdomain
local.example.orgon the local network only - HTTPS with a universally recognized certificate (no browser warning)
- Compatible with WebAuthn (sign-in with Passkeys)
- Simple to set up and maintain: no port forwarding, no self-signed certificate, no configuration required on clients, automatic certificate renewal
Prerequisites
- A domain name (
example.orgin this tutorial) - Caddy compiled with the acme-dns plugin (see step 3)
1. Register on acme-dns
My hosting provider alwaysdata
(sponsored link) offers a DNS service, but does not allow CNAME records pointing
to a domain managed by a third party. It is therefore not possible to use acme-dns
directly with alwaysdata, but the public service auth.acme-dns.io can be used
as a bridge between the two.
Run the following command to register on acme-dns and obtain the credentials needed for certificate validation:
curl -X POST https://auth.acme-dns.io/registerThe response is a JSON object containing the following fields:
{
  "username": "xxxxxxxx-xxxx-xxxx-xxxx-xxxxxxxxxxxx",
  "password": "xxxxxxxxxxxxxxxxxxxxxxxxxxxxxxxxxxxxxxxx",
  "fulldomain": "xxxxxxxx-xxxx-xxxx-xxxx-xxxxxxxxxxxx.auth.acme-dns.io",
  "subdomain": "xxxxxxxx-xxxx-xxxx-xxxx-xxxxxxxxxxxx"
}
Save these credentials in an acme-dns.json file:
{
  "local.example.org": {
    "username": "...",
    "password": "...",
    "fulldomain": "...",
    "subdomain": "..."
  }
}
2. Create the DNS records
In your registrar’s interface, go to the DNS Records page and add two entries:
| Hostname | Type | Value |
|---|---|---|
personae | A | 192.168.x.x (fixed local IP of the machine) |
_acme-challenge.personae | CNAME | (fulldomain value obtained in step 1) |
The A record points to the private IP of the target machine. From outside the local network, the connection will time out — but that’s fine for my use case, which is to access the application from the local network only.
If the local IP address of the target machine changes, the A record will need to be updated. The best approach is to assign a static IP to the machine in your router settings (static DHCP lease) to avoid having to do this.
Note: DNS records are public, and this A record reveals that the IP address is used on a local network — but nothing more (worth keeping in mind if privacy matters).
3. Compile Caddy with the acme-dns plugin
We’ll use Caddy as a web server to reverse-proxy to the local application (port 443 → port 1234), along with the acme-dns plugin to handle SSL certificate issuance.
The public service auth.acme-dns.io is free and community-maintained. It is apparently possible to self-host it to avoid depending on a third party, but I haven’t tested this.
The catch: Caddy does not support acme-dns natively. It must be compiled with xcaddy:
go install github.com/caddyserver/xcaddy/cmd/xcaddy@latest
xcaddy build --with github.com/caddy-dns/acmedns
Replace the existing Caddy binary with the compiled one, then grant it the right to listen on port 443 without sudo:
sudo mv caddy $(which caddy)
sudo setcap cap_net_bind_service=+ep $(which caddy)
4. Configure Caddy
Create a Caddyfile at the root of the project:
local.example.org {
    tls {
        dns acmedns ./acme-dns.json
    }
    reverse_proxy localhost:1234
}
In my case, the web server listens on port 1234 locally — adjust the port to match your project’s configuration.
5. Manage Caddy and Astro with pm2
I use pm2 to manage the web server process. I added Caddy to the existing
ecosystem.config.js:
module.exports = {
  apps: [
    {
      name: 'caddy',
      script: 'caddy',
      args: 'run --config /absolute/path/to/Caddyfile',
      interpreter: 'none',
      watch: false,
    },
    {
      name: 'local-project',
      script: 'node',
      args: './dist/server/entry.mjs',
      env_file: '.env',
    },
  ],
}
Start both processes:
pm2 start ecosystem.config.jsOn first start, Caddy will automatically:
- Call the acme-dns API to deposit the validation token
- Request the certificate from Let’s Encrypt
- Store the certificate locally
- Renew it automatically before it expires
6. Enjoy!
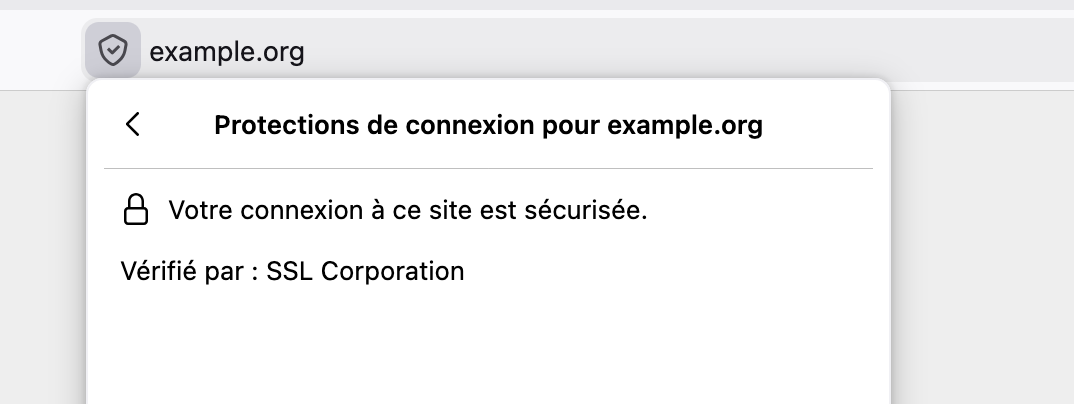
The web server is now accessible at https://local.example.org from the local
network, with an SSL certificate recognized by all browsers. No configuration is
required on any client device — and in my case, passkeys work perfectly from an
iPhone, which was not the case with a self-signed certificate.
Un commentaire ? Une question ?
Utilisez
les issues Github
ou
contactez-moi